How to Change Email on LinkedIn
By SendBridge Team · Published Sep 16, 2025 · 4 min read · Tutorials
How to Change Your Email on LinkedIn
Are you looking to update your email on LinkedIn?
There are several good reasons why someone might want to update their email address on LinkedIn. For instance, having a backup email is a smart move. Sometimes, access to our primary email might get lost due to forgotten passwords, hacked accounts, or even the closing of an email service.
By adding a secondary email to your LinkedIn account, you ensure a safety net. This backup can be a lifesaver, allowing you to regain access to your LinkedIn account in case you're locked out of your primary email. It's like having a spare key to your digital professional world.
Moreover, keeping in touch with business partners and professional contacts is crucial in today's fast-paced business environment. As we move through different phases of our careers, our professional email addresses often change, especially when switching companies.
Updating your email on LinkedIn to a more current or professional one ensures that you stay connected with your network. It makes sure that important opportunities, messages, and updates from your connections don't miss your radar. This simple update can have a significant impact on maintaining and growing your professional relationships.
Whatever the reason, changing your email on LinkedIn is easy and takes just a few minutes.
Follow this step-by-step guide to make the change without any hassle.
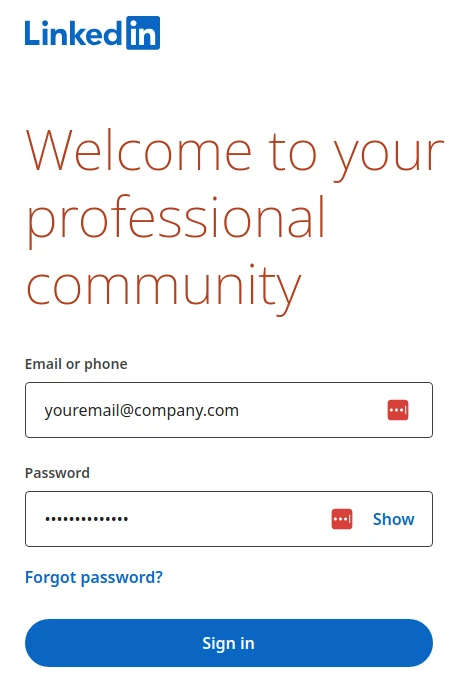
Step 1: Log in to Your LinkedIn Account
First things first, head over to LinkedIn's website and log in. Enter your current email and password to access your account. If you're already logged in, you're one step ahead!
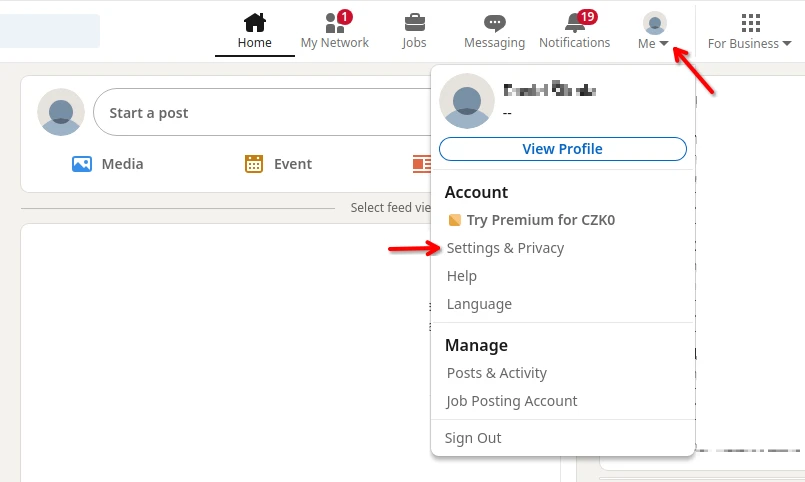
Step 2: Access Account Settings
Once you're in, look for your profile picture at the top right corner of the homepage. Click on it, and a dropdown menu will appear. Here, you'll find an option labeled "Settings & Privacy." Click on it to dive into your account settings.
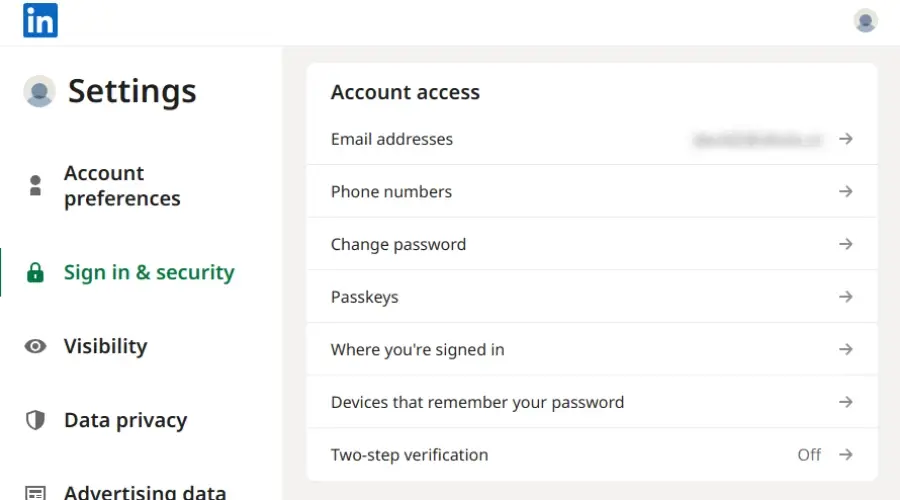
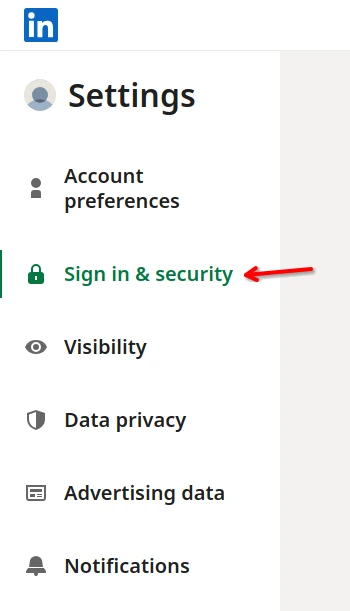
Step 3: Find the Email Section
In the settings area, there are a bunch of tabs on the left side. Click on the one that says "Account preferences." Under this tab, you'll see several options. Look for the section labeled "Email addresses" and click on it. This is where all the magic happens.
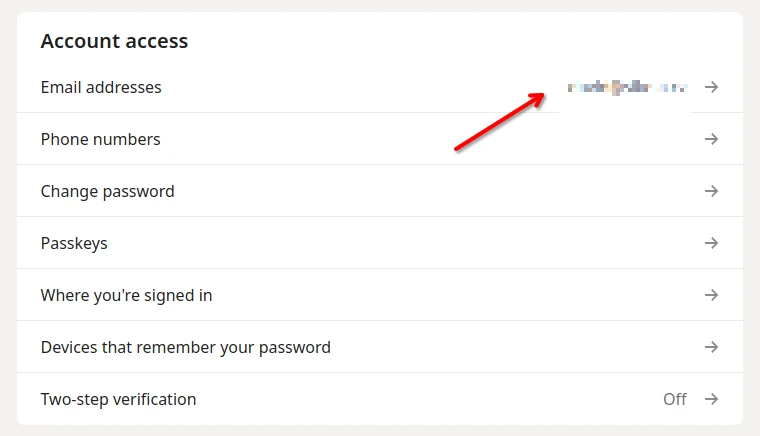
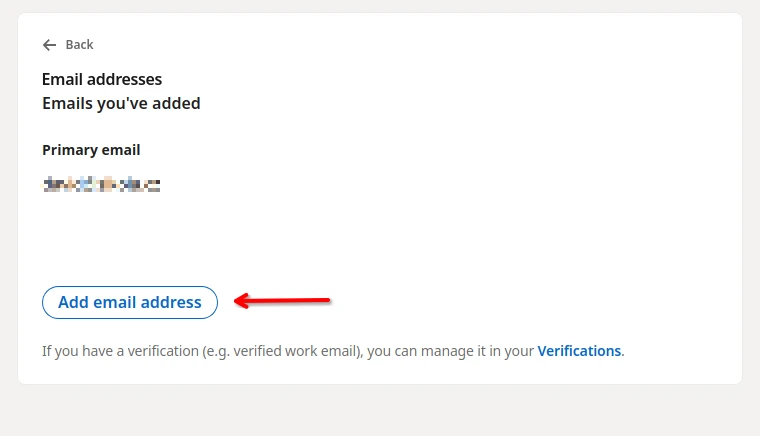
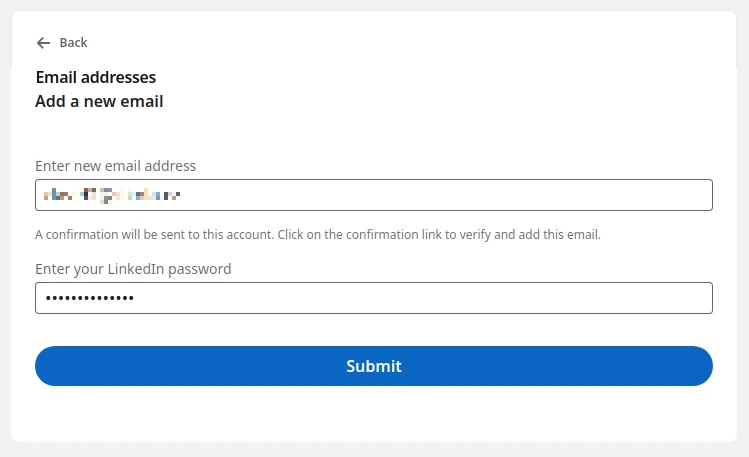
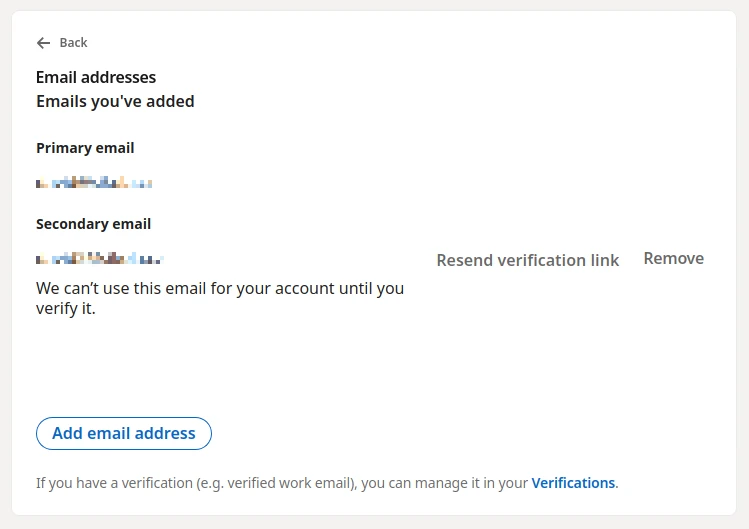
Step 4: Add Your New Email
Now, you'll see your current email(s) listed. To add a new one, click on the "Add email address" button. A new window will pop up asking you to type in your new email. Go ahead and enter the new email you wish to use with LinkedIn.
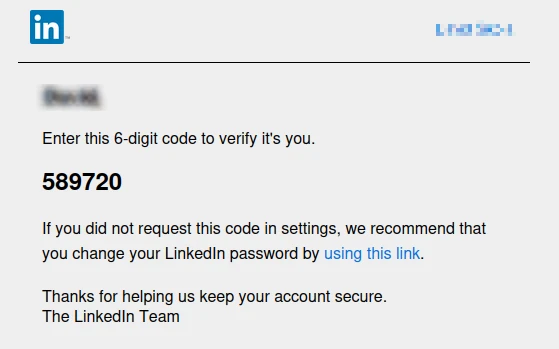
LinkedIn will send you a 6-digit verification code to your current email.
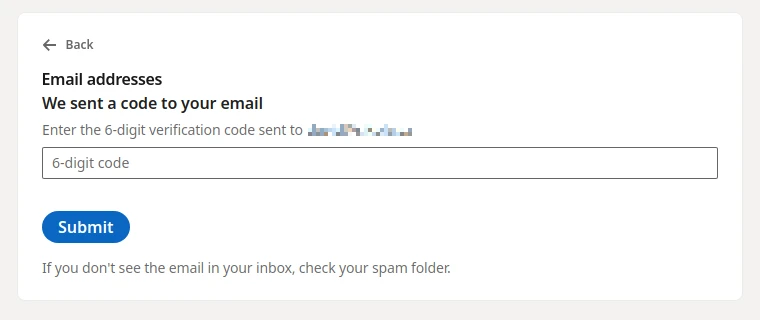
Step 5: Verify Your New Email
After adding your new email, LinkedIn wants to make sure it's really you making the change. They'll send a verification email to the new address you just added. Check your inbox for this email and click the verification link inside. If you don't see it right away, peek in your spam or junk folder just in case.


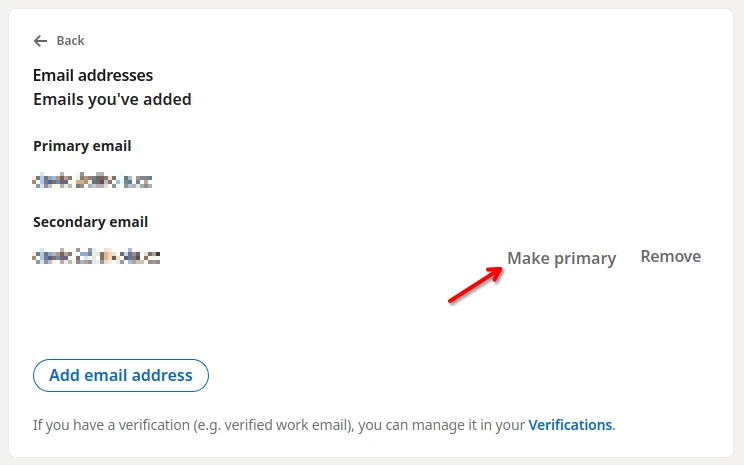
Step 6: Set as Primary (Optional)
If you want your new email to be the main one you use on LinkedIn, you'll need to set it as your primary email. Go back to the "Email addresses" section in your settings. Next to your new email, you'll see an option to "Make primary." Click on it, and you're all set!
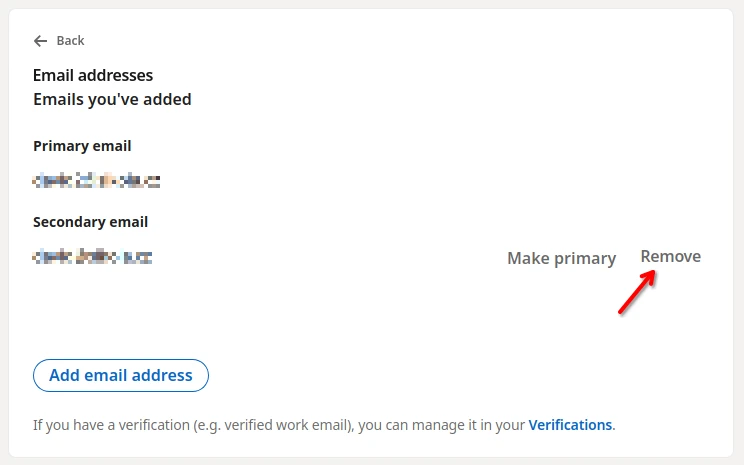
Step 7: Remove Old Email (Optional)
If you no longer need the old email, you can remove it by clicking on the "Remove" link next to it. Just keep in mind that once it's gone, you can't use it to log in or receive notifications from LinkedIn.
And there you have it! You've successfully changed your email on LinkedIn.
Whether it's for personal or professional reasons, keeping your LinkedIn account up-to-date is important. This simple guide ensures you can make changes quickly and get back to networking and growing your professional circle on LinkedIn.