Step by Step Guide to Making Realistic AI Clothing Photos
By SendBridge Team · Published Aug 20, 2026 · 10 min read · Tutorials
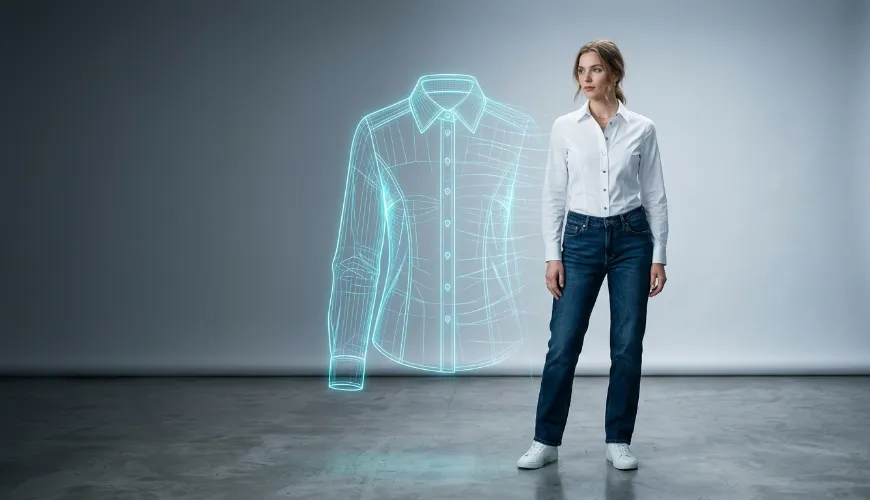
Many brands are trying to use AI models for fashion to save time and money. It makes sense because traditional photography is expensive and slow. But most people get frustrated when the results look fake or the clothes look nothing like the actual product. Creating high-quality AI generated fashion models isn't about clicking a button and hoping for the best. It is a technical process that requires control and a clear strategy. If you want images that actually sell clothes, you have to treat the AI like a camera and the prompt like a set of instructions for a human crew. This guide explains how to get professional results without the weird glitches or plastic-looking skin.
Step 1: Prepare Clean Clothing Inputs
The biggest mistake is starting with a blurry or messy garment photo. When you use AI models for fashion, the tool needs a clean foundation to work from. If the source image shows bad lighting, wrinkles, or unclear details, the final output will usually repeat those flaws. If the source image shows bad lighting, wrinkles, or unclear details, the final output will usually repeat those flaws. Use high-resolution product images on a neutral background, such as a ghost mannequin shot or a flat lay. Keep the lighting even so the AI can read the fabric texture, seams, buttons, zippers, and overall shape. Multiple angles also help, especially front and back views, because they give the tool a better sense of garment volume.
Color accuracy matters too. Add specific hex codes or clean color references when possible, since AI can shift shades based on the lighting or mood of the image. Don't expect it to guess where a pocket sits or how the hemline falls. Show the product clearly, and the digital version will look much closer to something a customer can actually touch and wear. That's how streetwear sells clear shots of Drama Call hoodies and denim show real fit and fabric.
Step 2: Define the Photo Style Before You Generate
Before you use any AI fashion models software, you need a clear plan. If you were hiring a photographer, you would explain the mood, location, lighting, and final use of the image. Do the same for AI. A photo for an Instagram ad can feel more dynamic, while a product page image should be cleaner and more focused. Decide on the visual style before generating. A 50mm or 85mm lens feel works well for fashion because it flatters the body without distorting the clothes. Match the lighting to the product, too. A winter coat may need cooler, overcast light, while swimwear usually fits warm, high-contrast sunlight.
Clear parameters prevent the AI from mixing random styles. The goal is to make the viewer focus on the clothing, not wonder why the image feels inconsistent. That consistency is what makes the result look professional.
Choose the Right Visual Context
Your background needs to match the brand identity. A minimalist studio with soft grey tones works best for high-end ecommerce because it keeps the focus entirely on the garment. If you are selling streetwear, a gritty urban environment or a simple concrete wall adds more credibility. Avoid overly busy backgrounds that create "noise" around the edges of the clothing, as this is where AI often makes mistakes with silhouettes.
Set Realistic Lighting and Camera Direction
Hard shadows and sharp highlights make a photo feel real. Many AI tools try to smooth everything out, which makes the image look like a 3D render from a video game. Instruct the AI to include natural shadows where the person stands on the floor or where the fabric folds. Use camera angles that buyers are used to, like eye-level or a slight low-angle, to make the model look natural rather than distorted.

Step 3: Create AI generated fashion models That Fit the Garment
The model you choose must reflect your actual customer base. One of the perks of using AI models fashion is the ability to show diversity without a massive casting budget. You can adjust age, height, and skin tone to match who is actually buying your clothes. However, you have to be careful with body proportions. If the AI generates a model with an impossible waistline, the clothing will look fake because the fabric won't drape correctly.
When you use an AI fashion model generator, focus on the "weight" of the person. A person's posture changes how a jacket sits on their shoulders or how jeans bunch at the ankles. You also need to pay attention to the extremities. Hands and feet are notoriously difficult for AI to get right. If the model's hand is tucked into a pocket or blurred slightly with "depth of field," it looks much more convincing than a perfectly sharp hand with six fingers.
It's helpful to learn how to create AI fashion models that look consistent across a whole collection. You don't want a different face in every single photo on your website. Use "seed" numbers or specific character references to keep the same person throughout the shoot. This builds trust with the customer. If they see the same person wearing five different outfits, the brand feels like a real company with a real catalog. Statistical trends show that using AI for these creative assets can reduce production costs by up to 90%, but that value is lost if the images look inconsistent or low-quality.
Match Pose to Fit and Fabric Behavior
The way a model stands determines how the light hits the fabric. For activewear, you want dynamic poses that show the stretch and movement of the material. For formal wear, a static, elegant pose allows the viewer to see the drape and the quality of the tailoring. Make sure the AI understands "tension points"-like the pull of a button on a tight shirt-to make the fit look honest and believable.
Keep Model Consistency Across Image Sets
Professionalism comes from uniformity. If you are building a lookbook, use a consistent model face and height so the customer can judge the size of the items relative to each other. This is especially important for ecommerce grids where twenty photos sit side by side. Small variations in skin tone or hair color can make the page look messy and unprofessional, so lock in your model parameters early.
Step 4: Generate, Review, and Refine the Clothing Photo
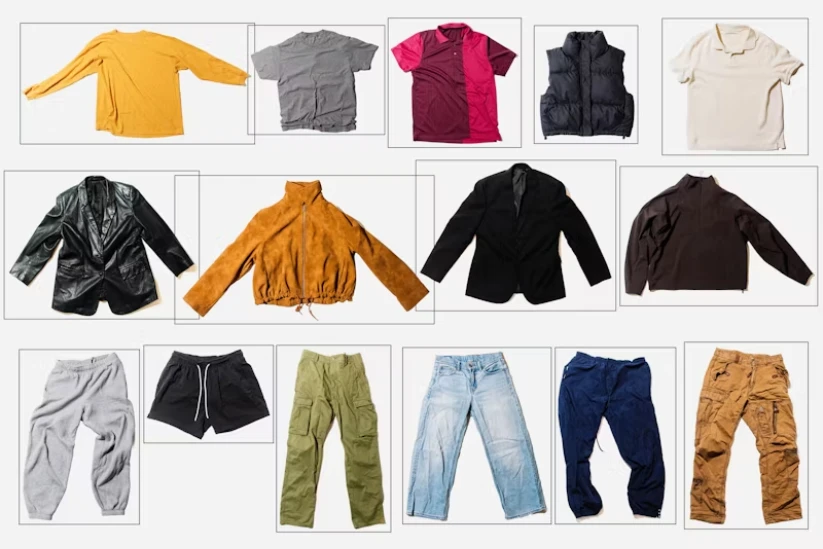
Now you can start generating. Don't expect the first result to be perfect. In an AI photoshoot fashion workflow, you are usually looking for a strong base image first: the right pose, lighting, and general clothing shape. It may take dozens of variations to find one where the sleeves, collar, and overall fit look natural.
When using an AI fashion models generator, check the small details closely. Are the buttons in the right place? Is the logo readable? Does the garment still match the original product? AI often struggles with text, hardware, and exact design details, so you may need to generate the model and scene first, then fix the product with in-painting.
Keep comparing the result with the original garment photo. A cool image is not useful if it changes what you are selling. If the real shirt has four buttons but the AI version has five, that can mislead customers and lead to returns. Accuracy matters most. The fabric should still look like silk, denim, wool, or cotton when you zoom in, not like a soft, blurry guess. For teams that need to test multiple outfit directions without losing product accuracy, an AI clothes changer like Coura.ai can help preview different styling variations while keeping the original garment as the visual reference.
Refine Prompts Instead of Starting Over Randomly
If the lighting is wrong, don't change the whole prompt. Only change the words related to the light. If you change five things at once, you won't know which word caused the improvement or the new error. This controlled iteration is the key to mastering high-end visuals. It saves time and helps you understand exactly how the software reacts to specific commands like "backlit" or "rim lighting."
Separate Creative Images from Product-Accurate Images
You have to decide if an image is for "vibes" or for "sales." An editorial shot for a magazine cover can be a bit more abstract and artistic, even if some garment details are hidden by shadows. However, an ecommerce image must be 100% accurate. That standard is even stricter for made-to-order categories like embroidered headwear and scarves, where a store such as www.diehardscarves.com has to show stitch placement, thread color, and cap shape exactly as the finished product will arrive. Keep these two categories separate in your workflow so you don't accidentally use a "creative" shot that obscures the product on a checkout page.
Clean Backgrounds for More Realistic AI Clothing Photos
Sometimes AI clothing photos come out great, but the background doesn't really match the quality of the outfit. Instead of redoing the whole image, it's easier to just clean it up. A background remover can strip everything behind the subject and instantly make the clothing stand out more. With tools like bgremover.org, you can fix this in seconds without any editing experience.
Step 5: Check Realism Before Publishing
Before any AI fashion photos go live, they need a human "sanity check." AI can produce things that look great at a distance but fall apart when you look closely. You need to look for technical errors that break the illusion of reality. A hand that blends into a sleeve or a shadow that goes the wrong way will make your brand look cheap.
Use this checklist to verify your work:
- Look at the eyes and teeth; they should be natural, not perfectly glowing or asymmetrical.
- Check the "tangents" where the clothing meets the skin to ensure there are no weird merges.
- Verify that the fabric texture is consistent across the whole garment.
- Ensure the background blur looks like natural camera bokeh, not a digital smudge.
- Check that the floor shadows match the model's feet and the light source.
If the image looks "too perfect," it might actually benefit from a little bit of noise or grain. Real photos have imperfections. A tiny bit of skin texture or a slight stray hair can actually make an AI-generated image look more human. Even an AI image detector may pick up on overly smooth, artificial-looking skin. If the skin looks like a plastic doll, the customer will subconsciously feel that the product is also fake or low-quality.
Step 6: Build a Repeatable Workflow for Future Photos
The goal is to stop treating AI like a toy and start treating it like a system. Save your best prompts and your specific settings for lighting and camera angles. If you find a model "seed" that works perfectly for your brand, keep it in a dedicated file. This allows you to produce new photos for new arrivals in minutes instead of days. By building a library of successful components, you ensure that every new image matches the quality of the last one. Realistic AI generated fashion models are the result of a disciplined, repeatable process.